Face Count
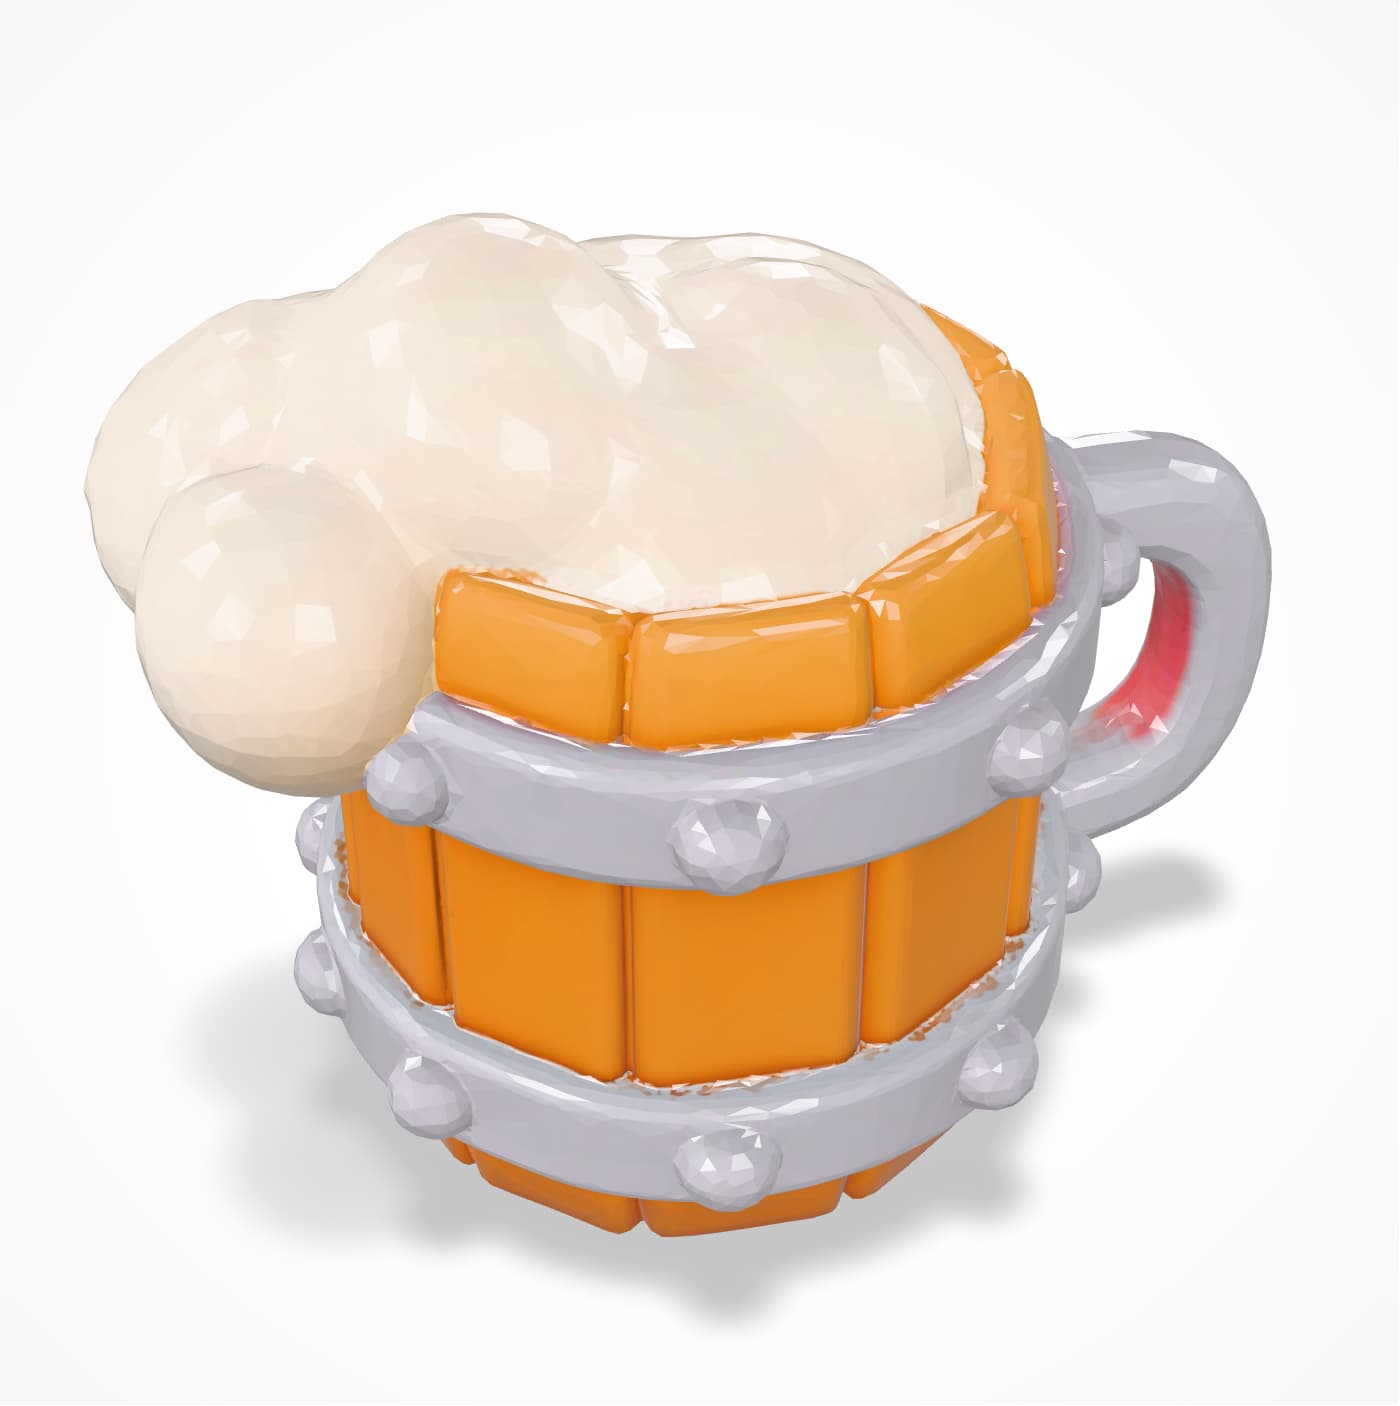
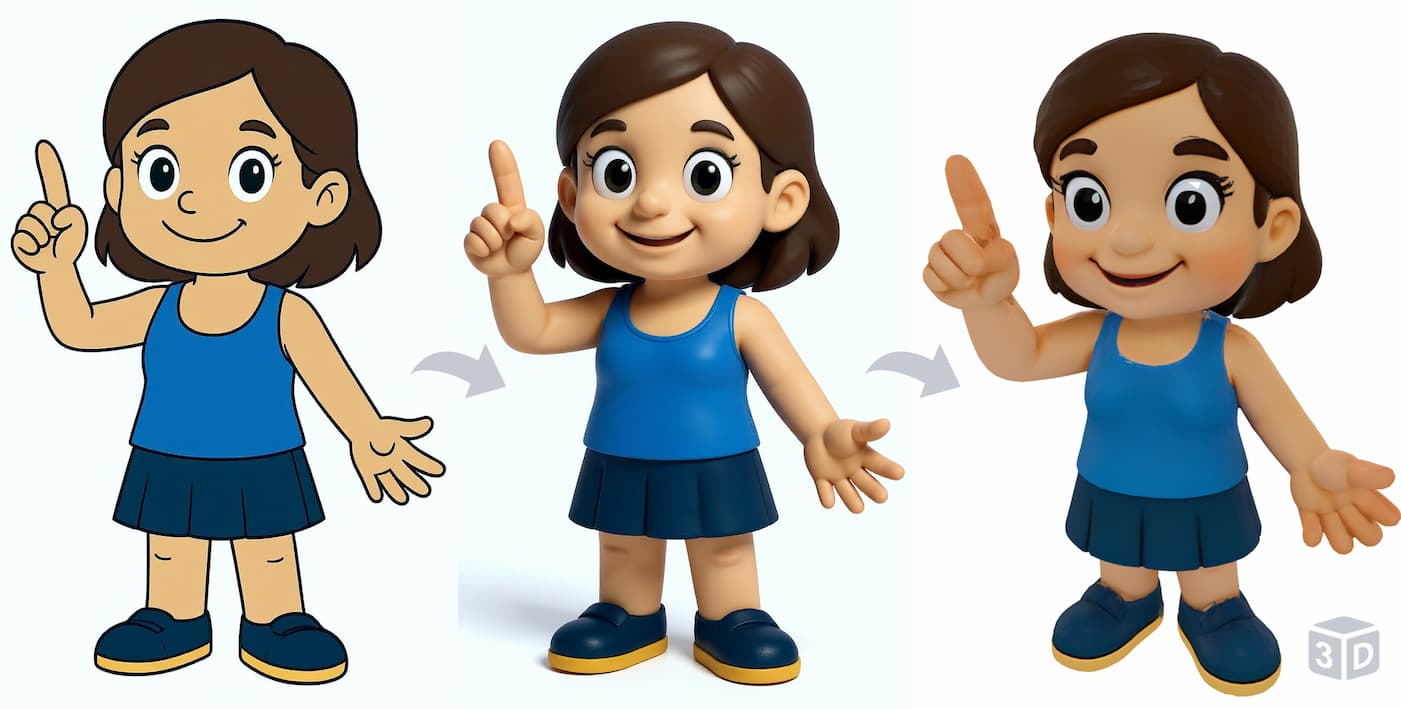
Pro 3D Modeling: Turn 2D Image to 3D Model Instantly
Follow this 2D image to 3D model conversion guide to transform any photo or illustration into professional 3D models
🎯How to Get the Best Results
General Rules
- Use clear, well-lit images with plain backgrounds
- Adjust face count based on your needs – higher for detail, lower for performance


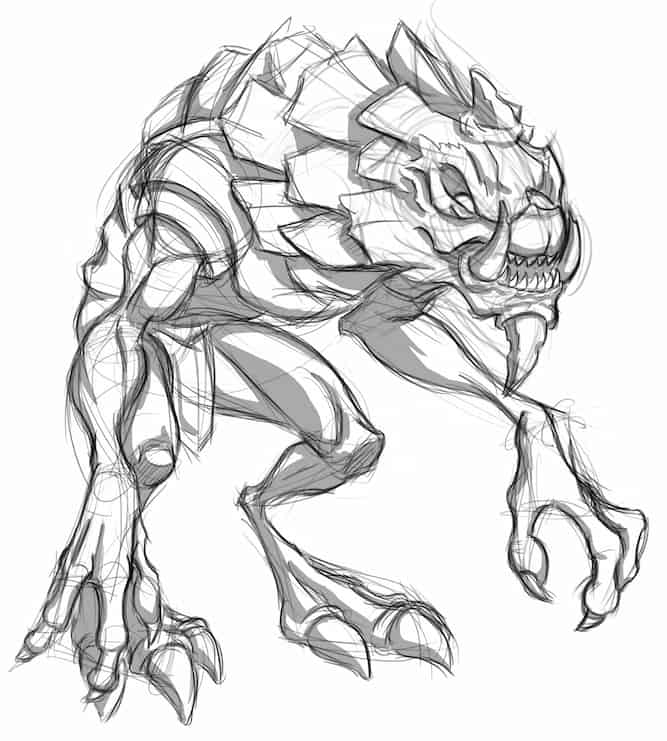
For Flat Illustration or Hand-drawn Sketches
For flat illustrations, logos, or hand-drawn sketches, we recommend using Image to 3D Style Transformer for render-filter preprocessing to provide depth cues to the algorithm.


For Image with Shadow on the Ground / Complex Backgrounds
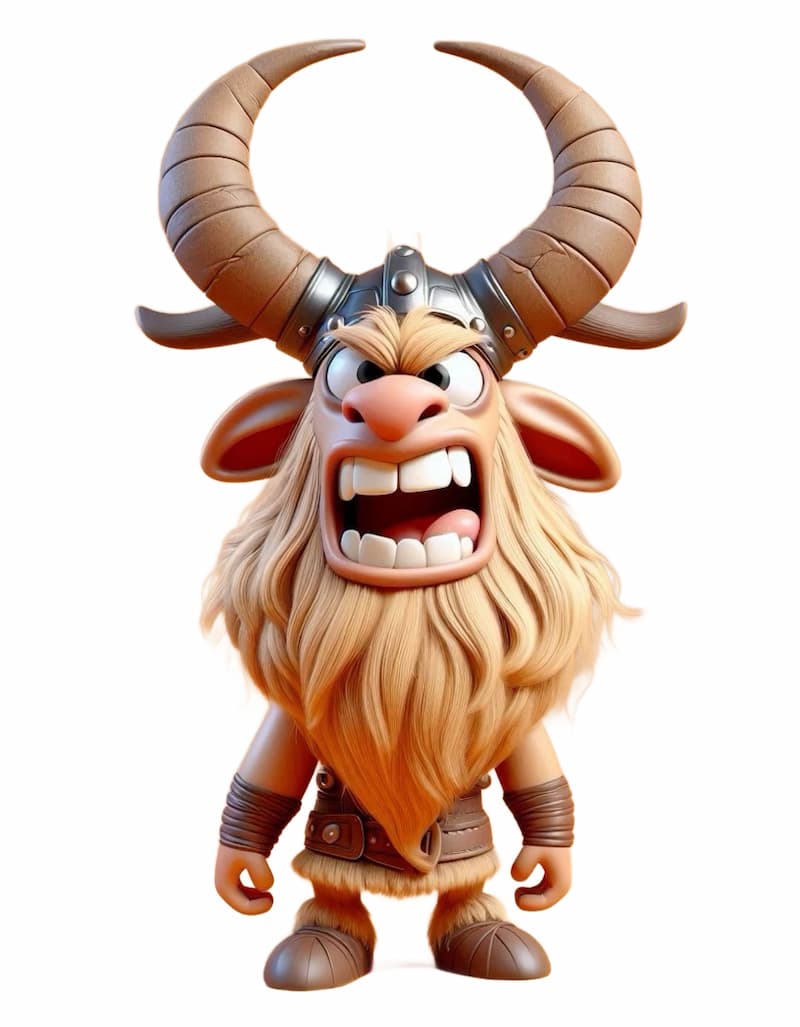
When 3D Style Transformer results produce heavy shadows under people or objects, or when the original image has a cluttered background, always use Background Remover to eliminate shadows and distracting backgrounds before 3D generation.
Getting Started with 2D to 3D Model Conversion
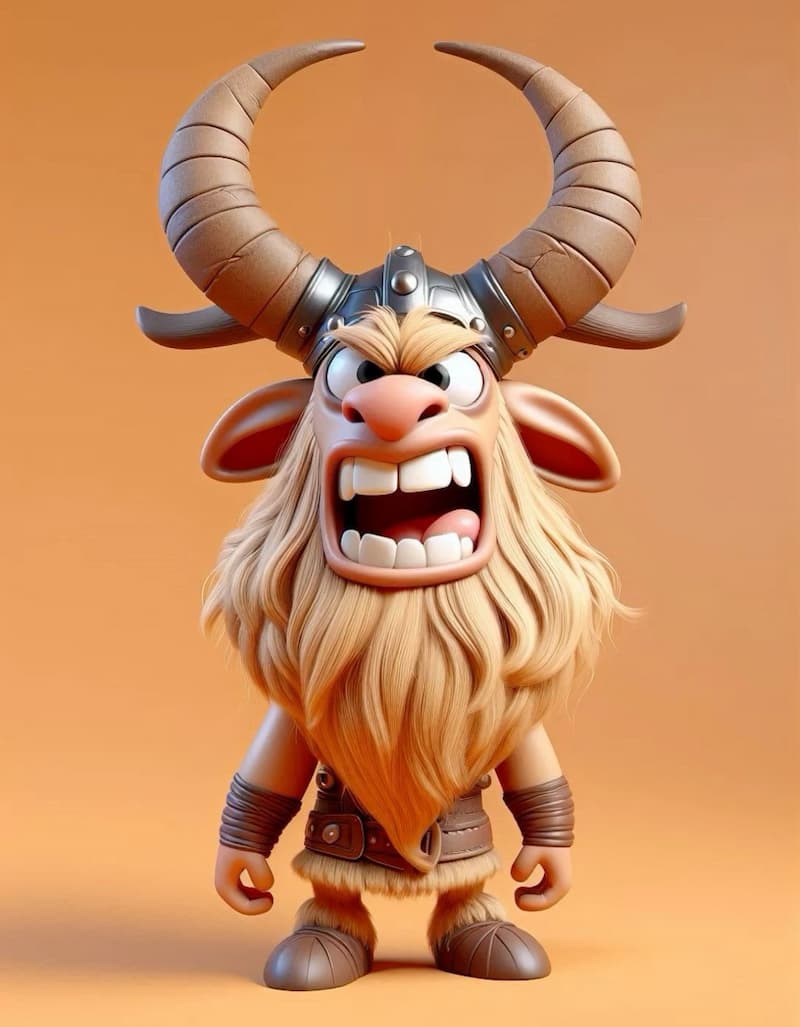
Step 1 | Upload Your Reference
Select and upload a clear 2D reference image for 3D model conversion. Images with minimal background clutter yield optimal 2D image to 3D model results.
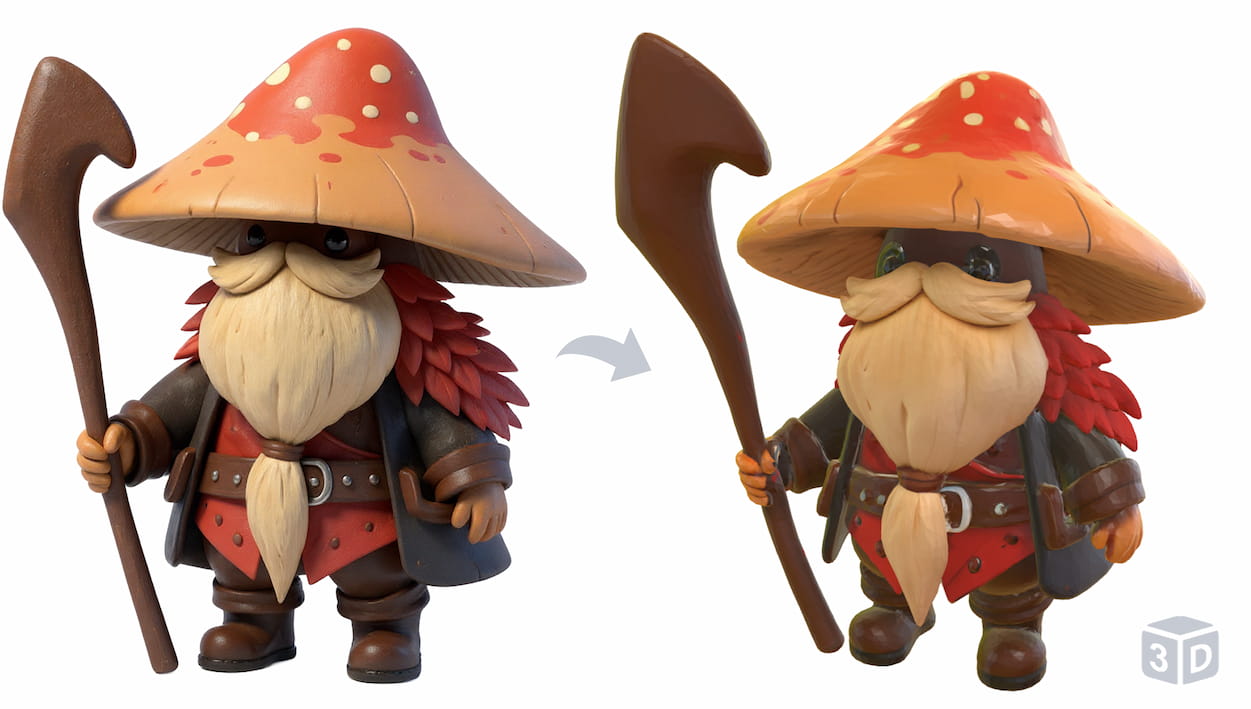
Step 2 | Tune & Launch 2D to 3D Generation
Customize your 2D to 3D generation process by adjusting detail levels or exploring advanced options. Initiate the conversion when ready.
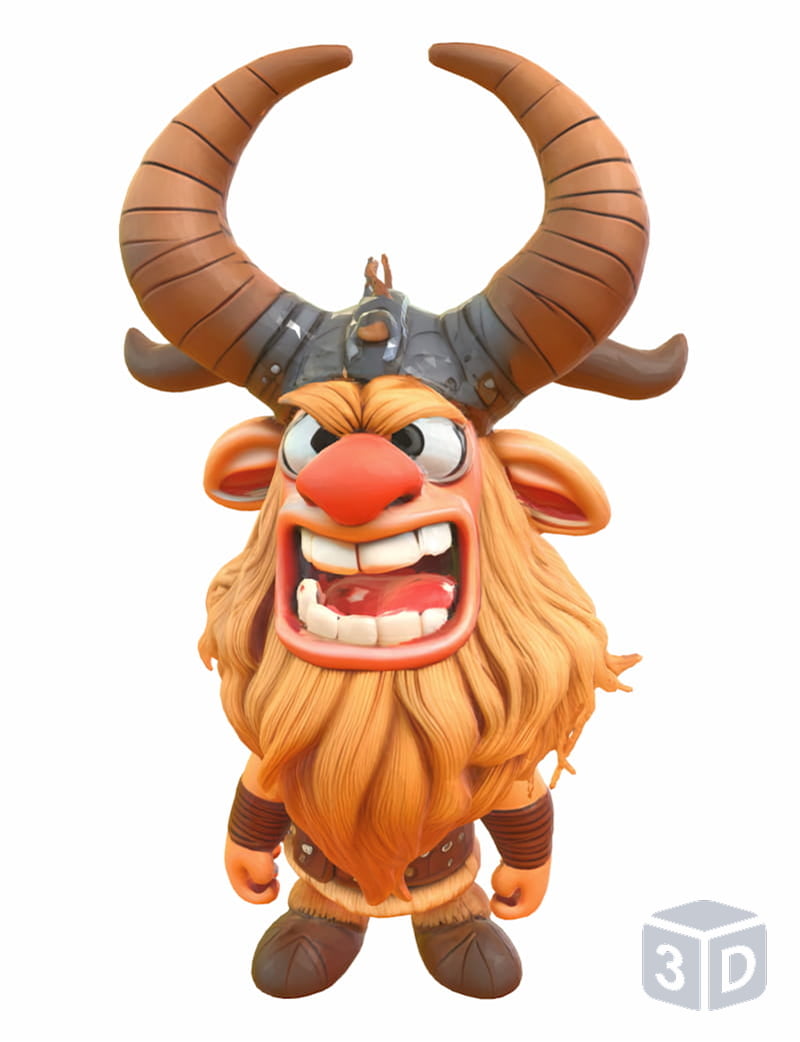
Step 3 | Download Results
Retrieve your completed 3D model converted from 2D image in preferred format (OBJ, GLB, or STL). Download promptly as files expire after session closure.
Advanced 2D to 3D Model Conversion Settings
Steps
Influences the 2D to 3D conversion process (though specific outcomes may vary).
Number of Chunks
Determines detail granularity during 2D image to 3D model conversion. Higher numbers produce more detailed results.
Octree Resolution
Affects detail captured during 2D image to 3D model reconstruction. Lower numbers mean fewer details from original image.
Face Count
Sets target face count for 3D model converted from your 2D image.
⚠️Failure 2D to 3D Examples
Large floor due to shadows on the ground

Problem Example
Use Image Background Remover First
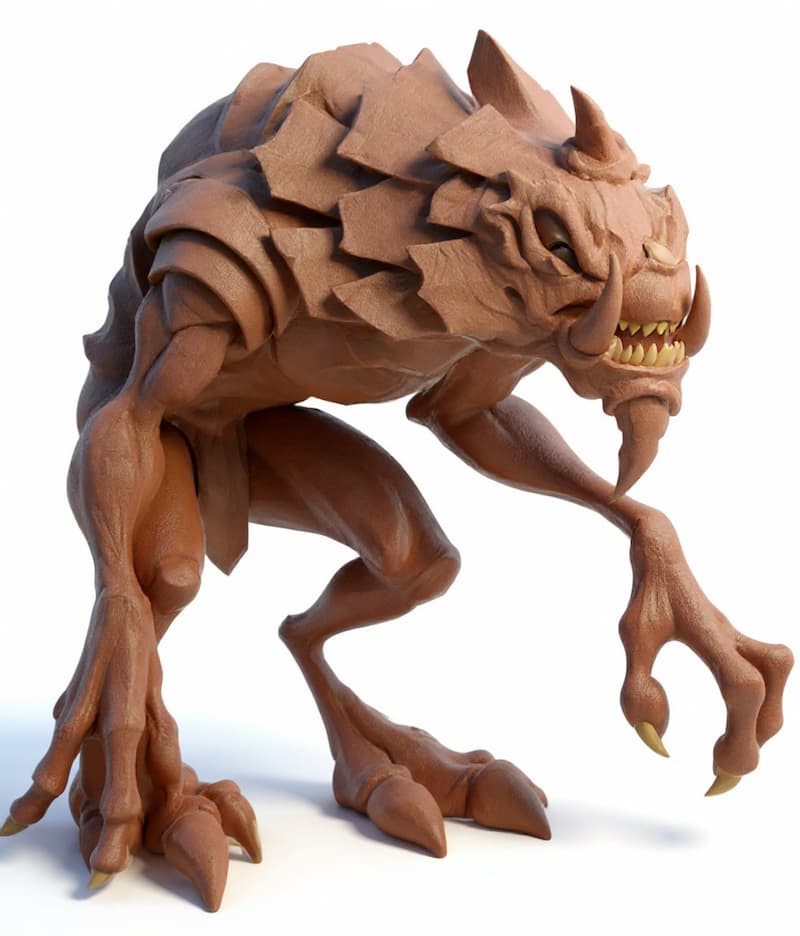
Box-like result from flat image
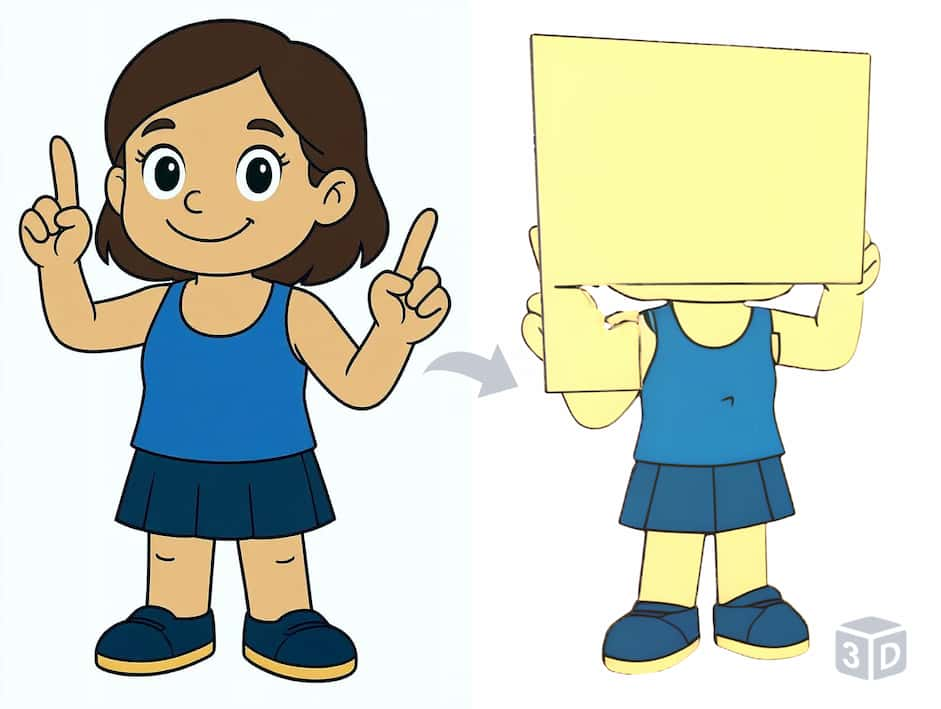
Problem Example
Use Image to 3D Style Transformer First
❓Frequently Asked Questions
What's the difference between the Turbo, Pro, and Ultra 2D image to 3D model generators?
• Turbo is built for speed, delivering rapid prototypes and low-to-mid-poly models in just 20–60 seconds. It's perfect for quick iterations.
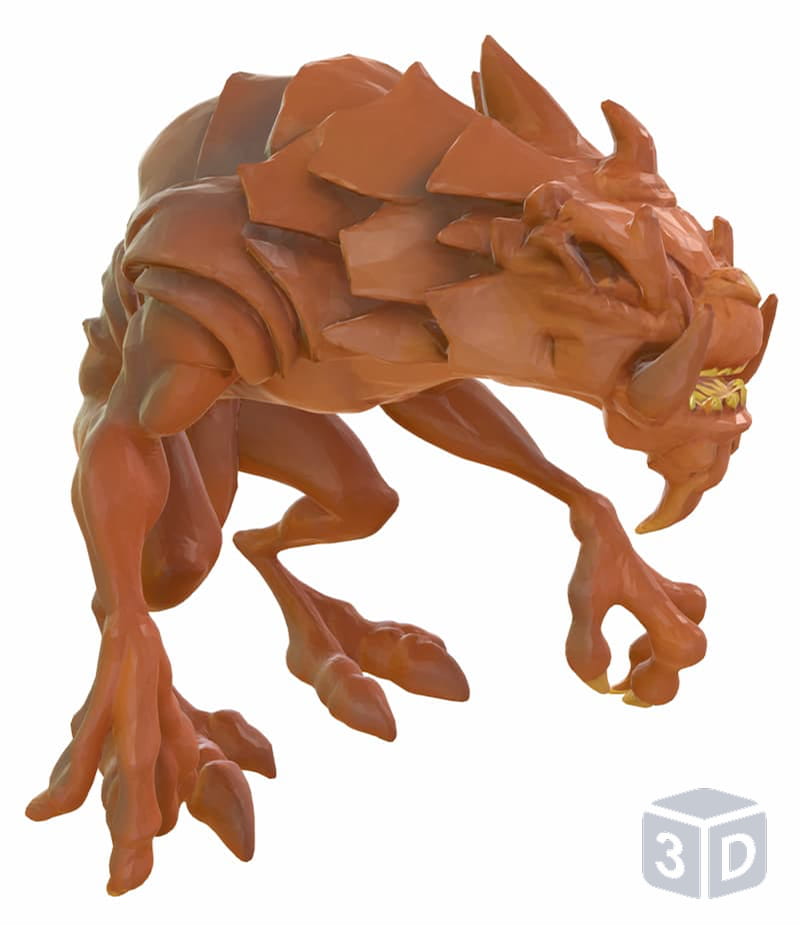
• Pro is the standard for high-quality assets. In 2–3 minutes, you get a high-poly model with excellent texture fidelity and full format support, ready for production.
• Ultra is our premium option for maximum detail. It excels at capturing intricate details in complex subjects, especially humanoid models, making it ideal for hero assets and professional renders, with a generation time of about 3 minutes.
Why does my model have an oversized floor?
Strong shadows or a cluttered background in the source image are the usual culprits. Run the image through the Background Remover first to eliminate the problem.
Why is my result block-shaped?
That happens when the source image lacks depth cues or shadows. Pre-process it with the Image-to-3D Style Transformer to add the missing information.
Can I use the generated textures directly in Maya or Blender?
Yes. We export to multiple formats that open seamlessly in all major 3D editors.
How do I get Credits?
Create an account, then visit the Pricing page and upgrade to the Pro plan to receive Credits.
Why is Pro slower than Turbo and the Free version?
Pro computes far more detailed textures when turning 2D image to 3d models, which requires several times the processing power of Turbo. The Free version skips texture generation entirely, so it appears faster.